Thursday, 14 April 2011

Anniversary Shoot Inspiration

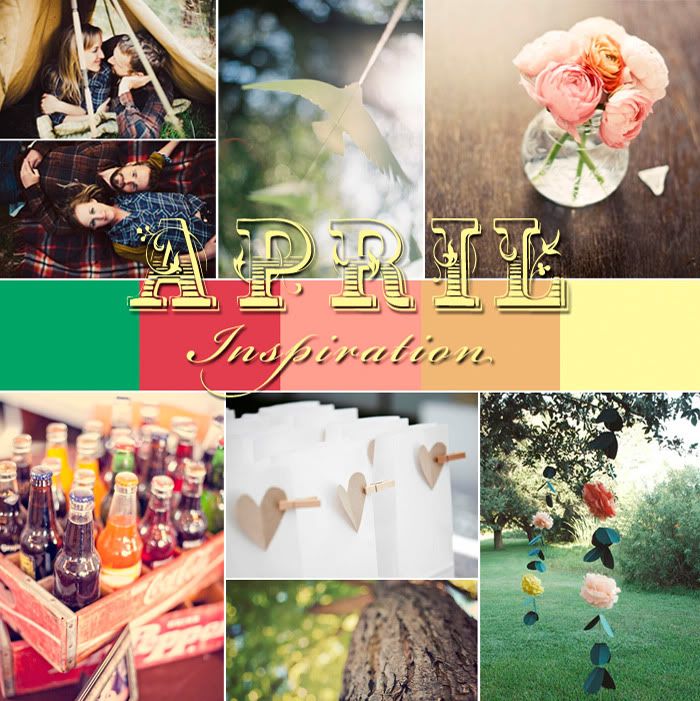
Later this month I'm going to be receiving a special visit from my favourite people, Steph and Mikey. It's been almost a year now since their wedding and I've been busy planning an anniversary photoshoot for them and thought I'd share my April inspiration on here.


Picture credits going clockwise: Camping engagement shoot by Shannon Norman, photo of paper dove from a wedding shot by Jose Villa, vase of Ranunculus photographed by Karin A, Pom pom vines DIY project on Oncewed, Paper heart bags shot by Natalie Hunfalvay, tree bark close up by Sanne kouwenhoven, Crate of soda bottles by Three Nails Photography.

Friday, 28 January 2011

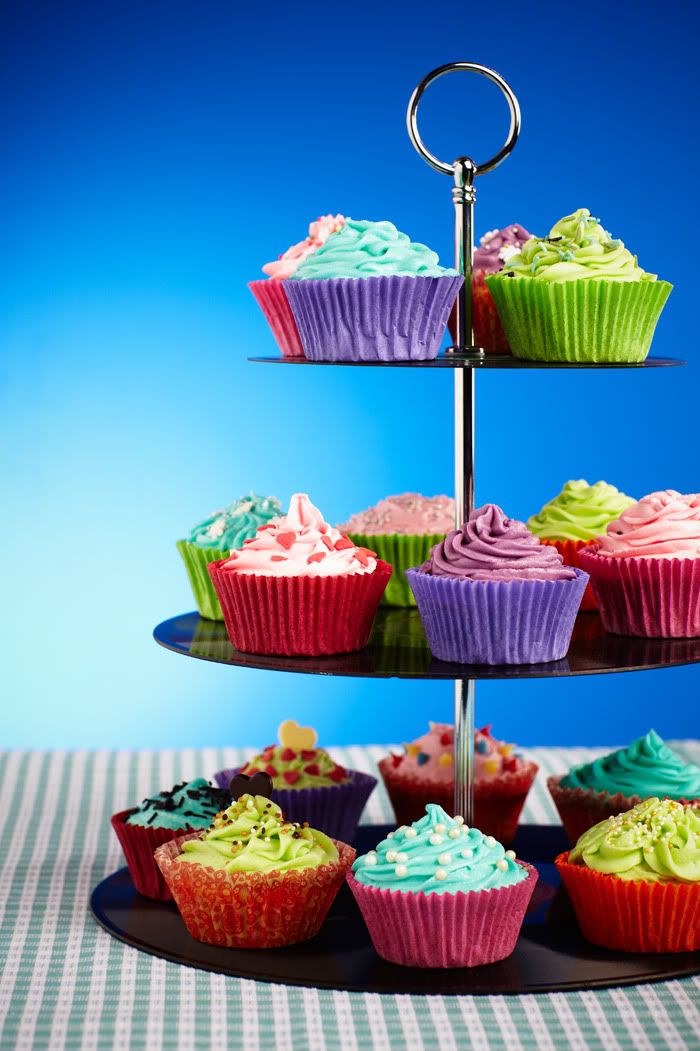
Vintage Vinyl Cake Plate

As mentioned many moons ago, here's one of the little D.I.Y. projects I've been writing for Pretty Chic Blog.

After wanting a cake plate for so long (not that I really do any baking or actually have a need for one) I decided I should probably make my own and save myself some money.

I came across several different design ideas online, but wanted to do things a little differently. I thought what better material to use than old vinyl records! They can be picked up second hand for next to nothing, they already have a hole in the middle, so no need to get the drill out, plus, seeing as I write for a wedding blog, they'd fit really well with a rockabilly or vintage themed wedding.
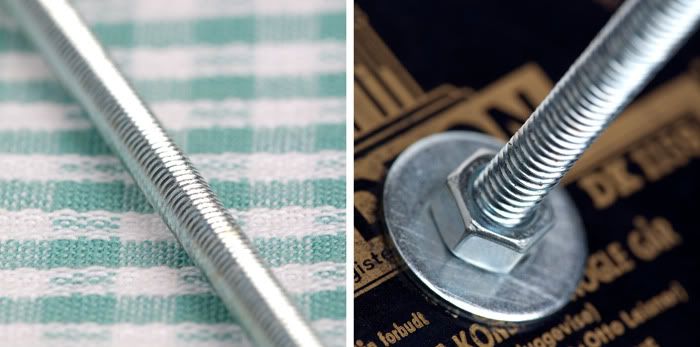
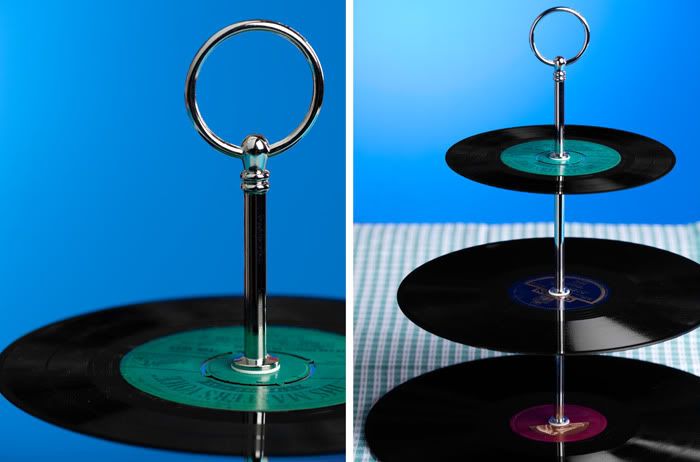
My biggest hurdle with this cake stand, was finding the centre thread to hold my layers together. I searched high and low and couldn't find what I was after. I read somewhere that an allthread (see below left) was the best way to go, but then I couldn't find any suitable metal tubing that would look nice over it and I didn't want the exposed thread as I thought that the bolts between levels would just look clunky and untidy (below right).

So after more than a month of searching online and in every craft shop, DIY shop and any other places I could think of, I gave up on the idea of making the centre thread myself. I did several searches on ebay for cake plate hardware before I finally stumbled upon what I'd been looking for all along and at a reasonable price too. So I snapped it up quick!

This is what I ended up needing for this project:
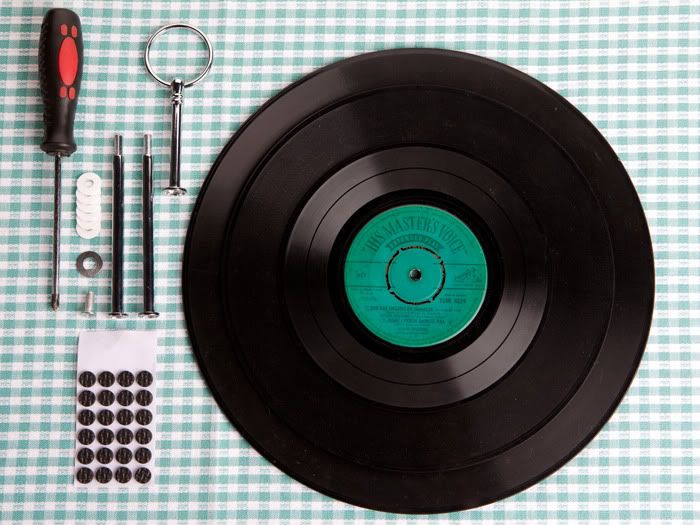

  • Phillips-head Screwdriver
  • 3 different sizes of records (2 is also fine if you only want a 2 tiered stand instead)
  • Central threads (Search ”cake stand handle” on ebay, there's several different designs to choose from)
  • A pack of those little felt or rubber floor saving pads (the ones that go on the bottom of chair legs)

Here's how it all fits together:

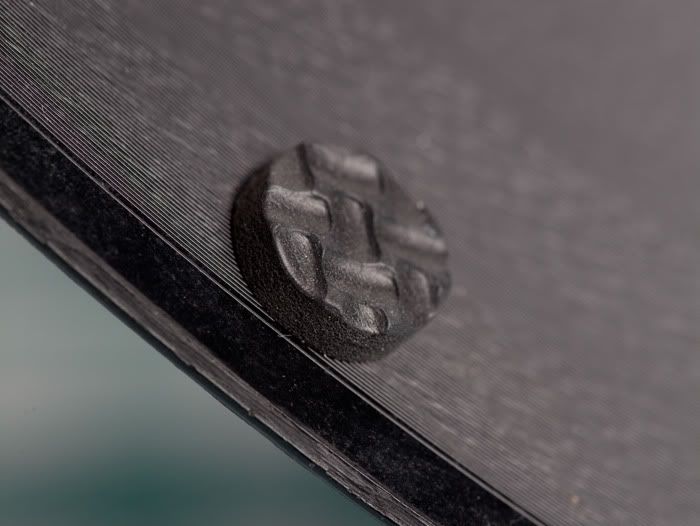
First attach about 8 floor savers at evenly spaced intervals to the underneath of the largest record, so that you will have a stable base.
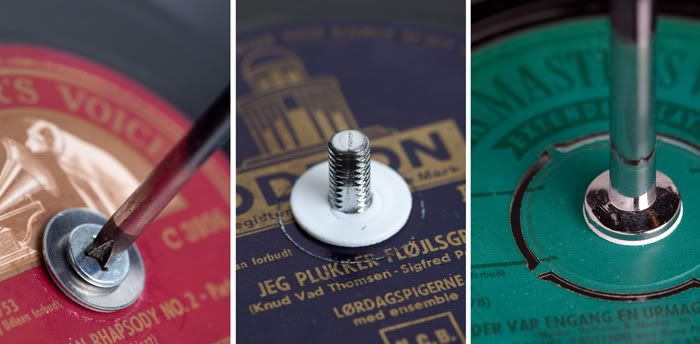
Then assemble your cake plate layer by layer (which very straightforward, when the materials infront of you).

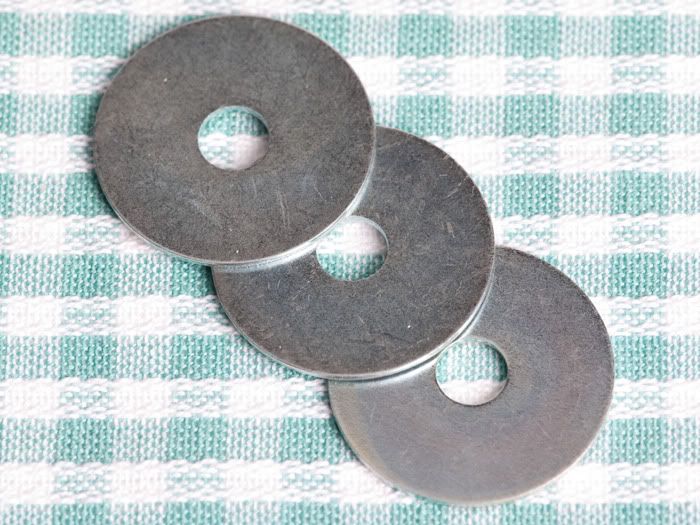
I loaded up my stand with cupcakes to make sure it was sturdy enough, but just for extra safety, you could always purchase a pack of washers like the ones below from your local D.I.Y. store, to secure under each record.

Or alternatively, stack double records for each layer.

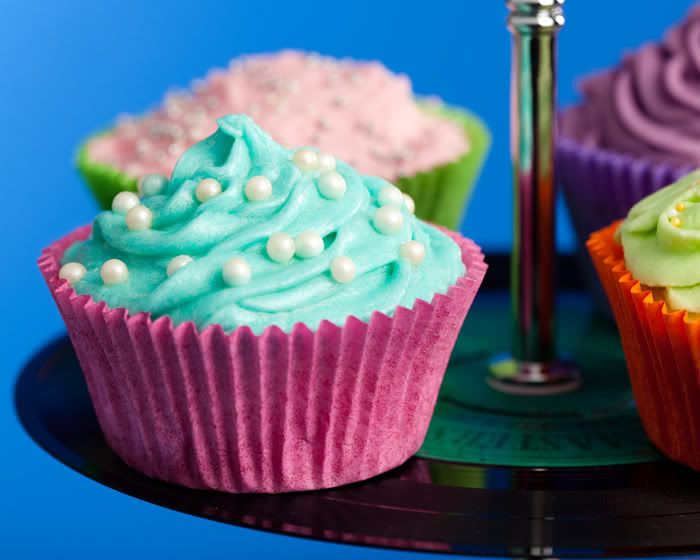
And there you have it, a simple, cheap and easy to assemble, themed cake plate to showcase those cupcakes.


Saturday, 8 January 2011

Whistler Tilt Shift

Happy New Year all =o)

Haven't been around for a while, but amongst other things, I've been a busy bee working on some D.I.Y. decoration projects for Pretty Chic Blog which I will hopefully be able to share sneak peeks of on here soon. In the meantime I stumbled across this fantastic tilt shift video over at Black Eiffel and couldn't resist sharing it. I love tilt shift! And Whistler for that matter...